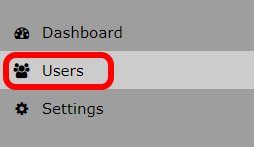
User accounts can be controlled from the user screen accessed from the left hand menu bar.
Account Roles
There are three types of account roles, each has different permissions and different uses.
- user - These accounts are the most limited. They can access end devices (the OG Harvest System and Desperado Handheld). They can upload data to the Outlink Console but they cannot log into the console. They also cannot submit data to state compliance vendors.
- console - These accounts can do everything a user account can do, plus access the Outlink Console and upload data to state compliance vendors. These accounts can also create new user accounts.
- admin - These accounts can do everything a console account can do, plus create new console or user accounts and view organization authentication credentials.
These distinct permissions are useful to ensure things are done according to your SOPs. You can set up the permissions such that anyone can harvest plants, but only managers can submit the data, giving them a chance to review it beforehand.
Admin accounts - your GM perhaps - get the final say in who is given access to Outlink Console.
Creating new accounts
The two icons next to the "Users" title can be used to create new accounts. The one immediately to the right creates a new user account and the other creates a new console account.
New User Account
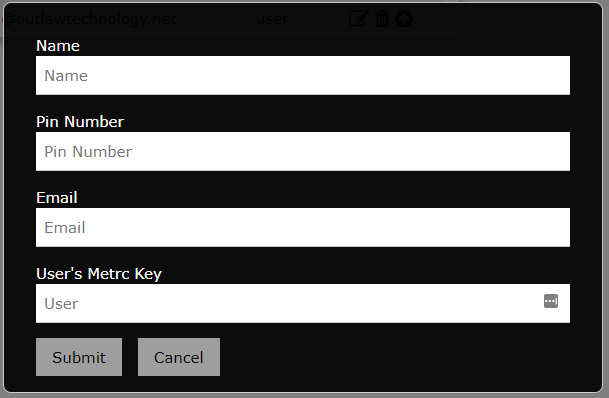
Clicking on the Add User button will open a popup that you must fill out for whomever you are creating the account. The Pin Number is what they will use to access the Outlaw devices. User's API Key is optional. If provided, this API key will be used when uploading data to the state compliance vendor that was generated by this user. For example, Brock harvests 100 plants with the OG Harvest System. These plants will show up in the Outlink Console as being harvested by Brock. When these 100 plants are submitted to the state compliance vendor, Brock's API key will be used (if set) identifying him as the harvester in their software as well
New Console Account
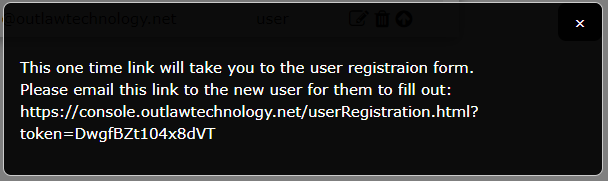
Clicking on the Add Console Account button will generate a one-time-use URL. This URL will lead to a user registration page. Email this URL to whomever you want to give console access. Note: the link will expire either after 72 hours or an account is created. Only one account can be created from per link.
Editing existing accounts
Console accounts can edit their own info such as name, email, pin, etc. from the Settings page.
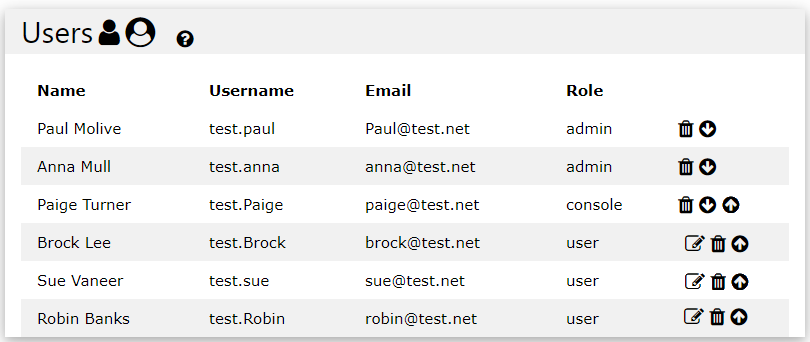
Accounts with the role of user can be edited by an admin or console account by clicking the edit icon (leftmost). This will open the same popup as if you are creating a new user account, but the fields will be pre-filled with existing data and can be changed and saved.
The following actions can only be performed by admin accounts
Accounts can also be promoted or demoted by clicking the up or down arrow. Promoting a user account to a console account will generate a link similar to when you create a new console account. Email this link to the user that is being promoted and they can fill out the required fields.
Console accounts can be demoted to user accounts if needed. All of their account data will persist if they are promoted to a console account in the future.
Clicking the trashcan icon will display a popup confirmation box and, if confirmed, will delete the selected account.
Comments
0 comments
Please sign in to leave a comment.