Turning on the touchscreen
You are now ready to turn the unit on. Plug the power adapter found in the touchscreen's box into an outlet and then into the 'pigtail' coming from the bottom of the touchscreen. The unit will begin its boot procedure. This may take a minute and the screen may flash a few times (this is normal). Note that there is no On/Off button on the touch screen. To turn the unit off, simply unplug power.
Once the unit has finished booting, you will see the Pin Pad screen.
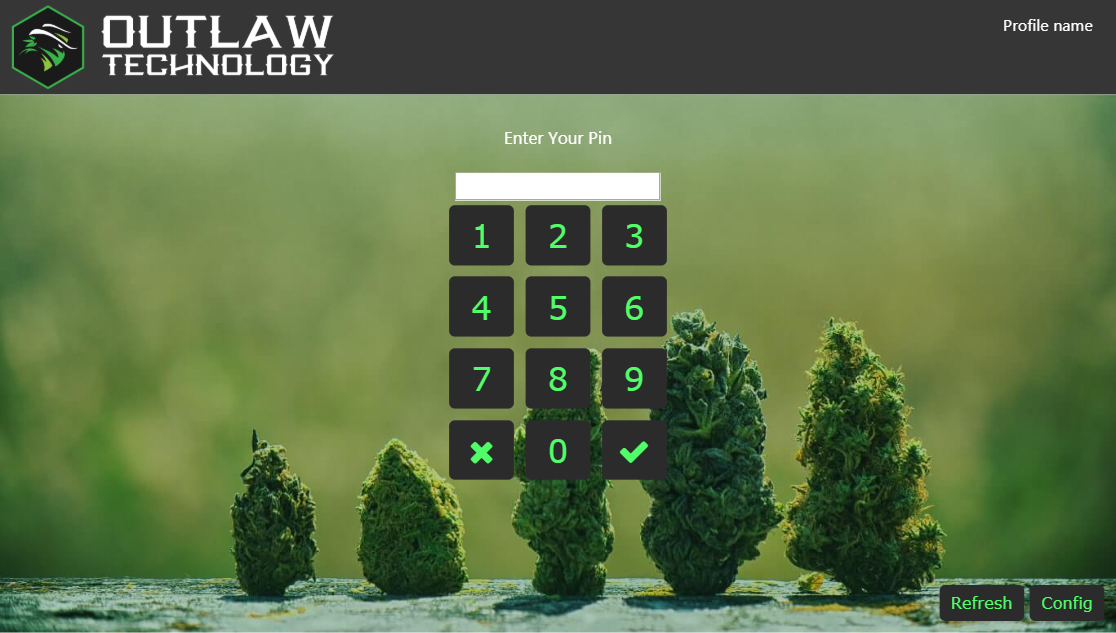
Tap the Config button in the bottom right corner
Config screen
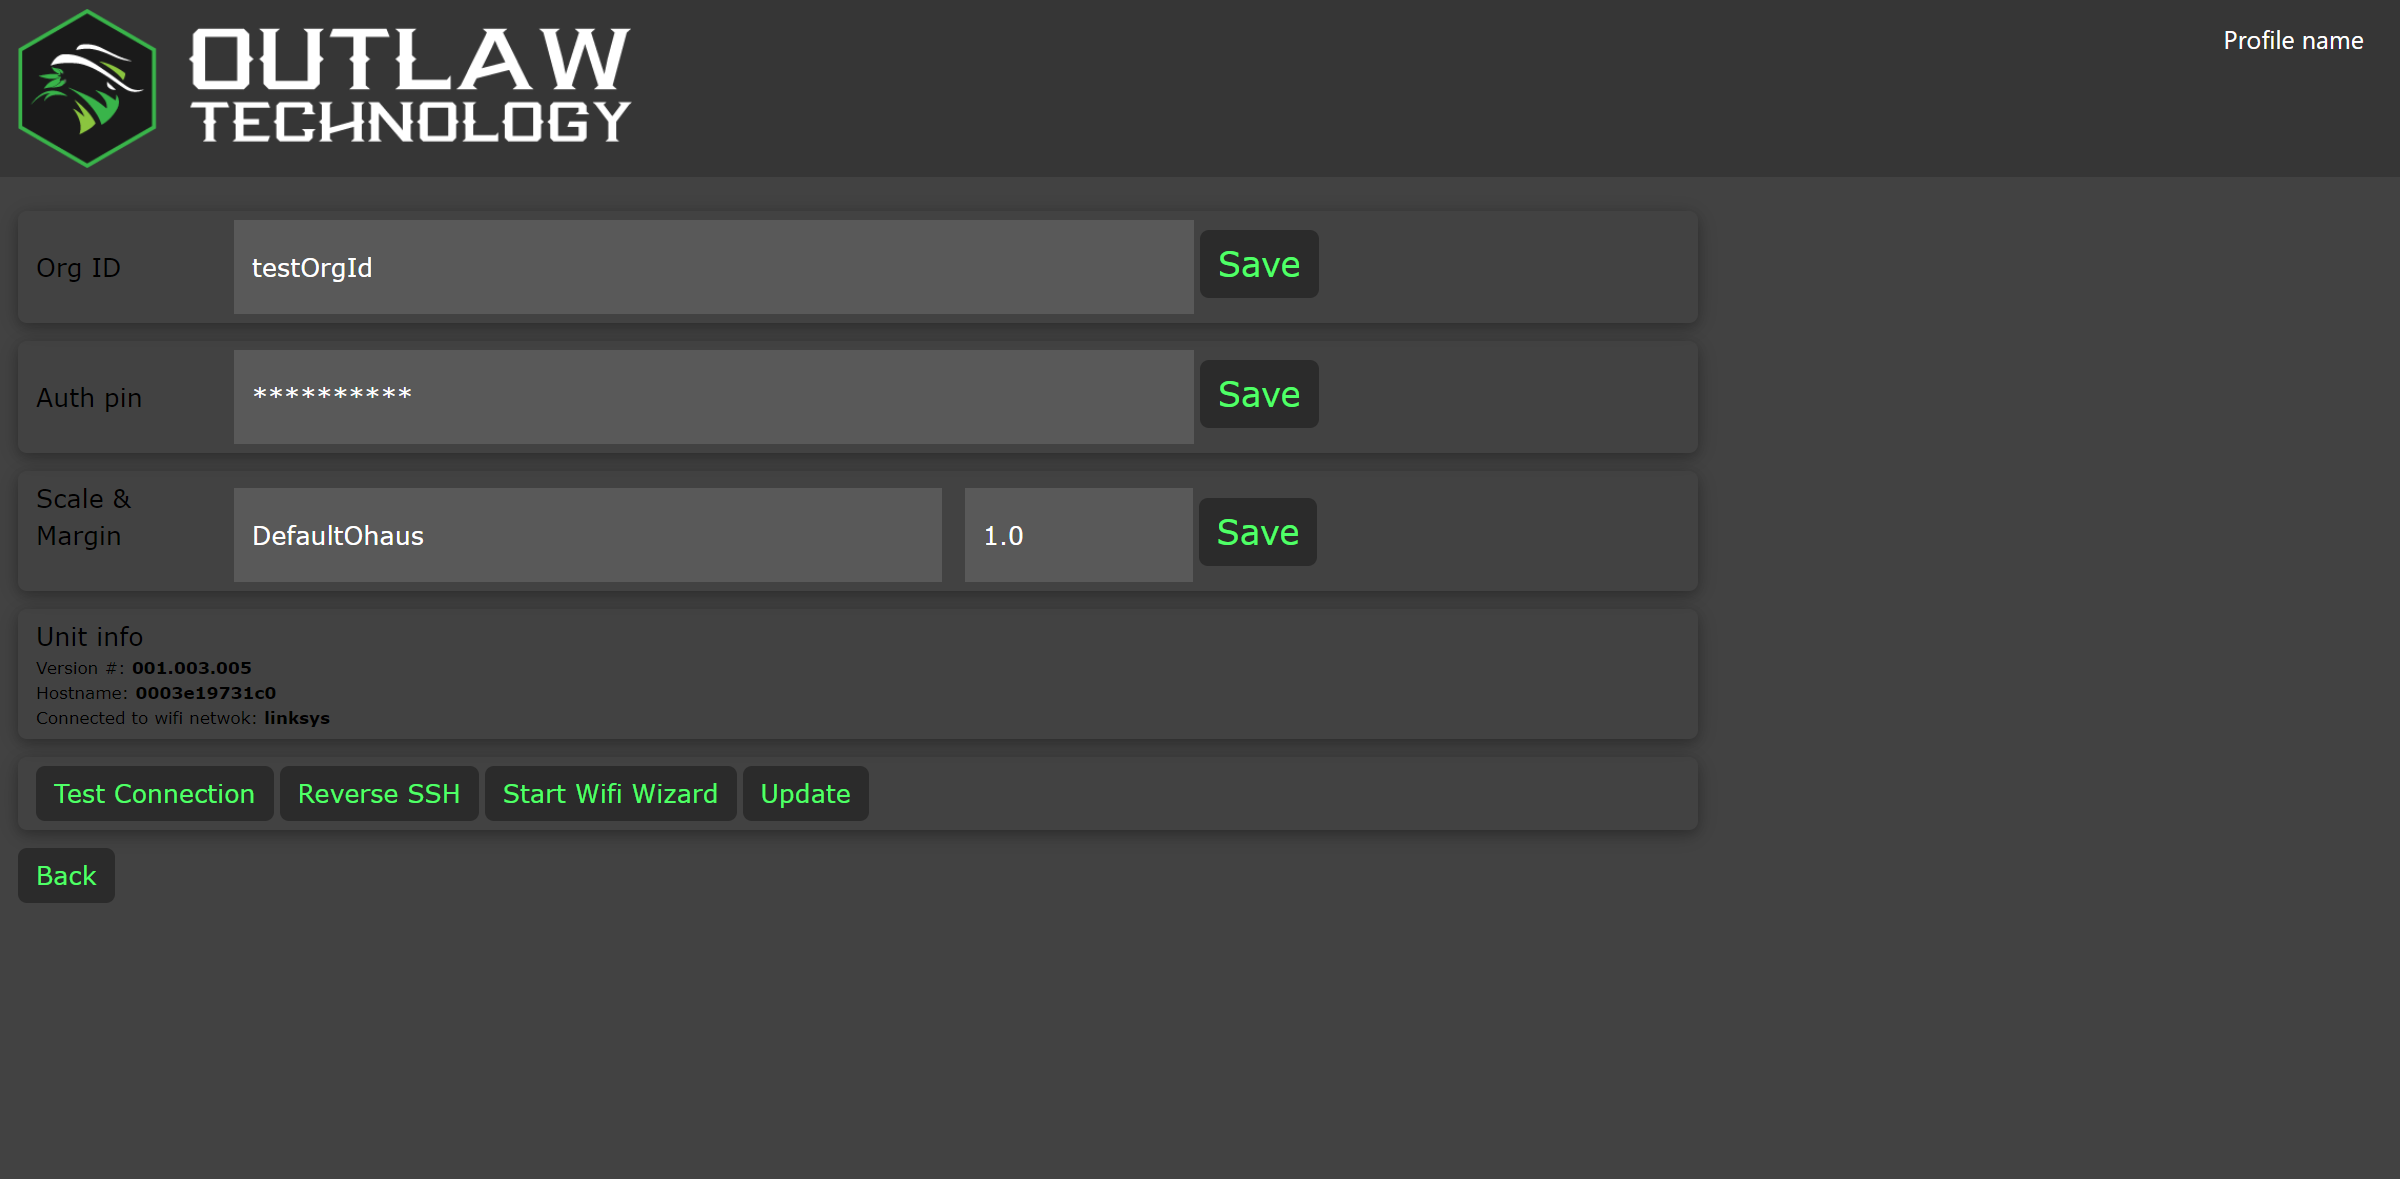
On this page, you will set your organization's authentication credentials, choose your scale, and connect to your WiFi network.
Credentials setup
The Org ID and Auth pin can be accessed by your admin from Outlink Web Console. First, go to the Settings page, and then click the "Send Auth Info" button. See this article for more details.
Tap the text box labeled Org ID. A popup keyboard will display. Here, you type in your organization's ID value. After you have entered the Org ID, tap the Save button to the immediate right of the text box.
Repeat this process for the Auth pin.
Scale setup
Choose your scale model by tapping the box labeled Scale & Margin. This will open a drop down menu with currently supported scales. If your scale model isn't listed, please contact Outlaw support.
The margin value to the right of the scale model drop down is a stabilization margin. It allows the weight value to be locked in, even if it is fluctuating within this margin (unit is grams). This is particularly useful for hang-scale applications. The default value of 1.0 is generally sufficient for most applications. Tap the Save button after you have set these values.
Network setup
Tap the Start Wifi Wizard button to open a screen with available WiFi access points. If your access point isn't listed, try closing the list, wait a few seconds, and then start the WiFi wizard again. Tap your access point once located in the list. This opens an onscreen keyboard where you can type in your WiFi's password (if no password, leave blank). Tap Ok when ready. After a few seconds, a confirmation "Connected" message should be displayed. If not, try again to make sure your password was entered correctly.
Test Connection
With the WiFi connected, tap the Test Connection button. This test for a good internet connection and ensures the Org ID and Auth pin are correct. If this test fails for any reason, please review the Org ID, Auth pin, and WiFi settings for accuracy.
Updating software
Once the Test Connection test passes, tap the Update button to check for software updates and install if available. The unit will automatically check for updates each time it starts up, but since it wasn't connected to the internet this first time, a manual check is required.
The software is now configured for your organization! Tap the Back button to return to the pin pad and move on to the Login and Main Menu Tour...
Comments
0 comments
Please sign in to leave a comment.